Picture this. You are hosting your own gathering. Whether it be for a birthday, engagement or even a wedding. People are giving you what seem to be amazing gifts judging by the brightly coloured wrapping paper and elaborate ties and bows. But the excitement disappears as soon as you open these hand-picked presents. "Oh, how lovely," you gush as your guest smiles, thinking they got you just the thing you needed for your house/kitchen/bathroom. Meanwhile, deep inside you are thinking, "What am I going to do with this thing? It's totally going to clash with my current decor!" Even worse: "I hope they won't know I threw it in the trash!"
Has this ever happened to you?
Throwing these unwanted items away is one thing, but I also know of people (and am one myself) who store these unwanted presents away in what is termed a "Present Cupboard". These unwanted presents are typically re-gifted to relatives and/or good friends - which only serves to perpetuate the cycle of poxy gift giving. I have been guilty of re-gifting at times. My re-gifting rules of thumb however are:
- the item must be something I like
- the item is decent and in good condition and
- the item has never been seen before by the receiver (particularly important).
However, now I believe I have another solution to stop the cycle of poxy gift giving for good! That's right - get crafty!
My friends had been given a picture frame for an engagement/wedding present. They'd kept it in the cupboard for a while, but then thought I might have better use for it.
I remember first seeing it and thinking it needed sprucing up - originally an all white, quintessential "weathered" wood frame. (Please note: I started this project before I decided I would keep a blog, so unfortunately I have no before photos!)
I made sure the surface had been primed properly - using my Gesso paint. When the surface was dry, I sanded the frame, to make the wood as smooth as possible. It was always going to be the case that the "weathered" texture would still come through, but it wouldn't be as obvious.
Using "Dioxazine Purple" from Derivan's Matisse Structure Paint range, combined with an iridescent medium, I managed to cover both the back and the front of the frame. The frame also had little beach objects set in each of its four corners. Instead of keeping them the same colour as the rest of the frame, I decided to make them stand out more by painting them silver. (Whereas, originally these features blended in with the rest of the frame.) I dusted a bit of purple paint over the ridges of the shapes, to define them a bit more.
Here's a couple of photos of how the frame looked after I had done this:
Beach frame: A work in progress.
Bottom left corner: I also highlighted the little starfish and rocks
set around the main shell with silver paint.
Top right corner
Bottom right corner: Starfish - this feature was a little tricky to paint
due to its indented texture.
Top left corner
I thought I was finished at that point. However, I knew there was still something missing. Then came along Jo Sonja's Opal Dust - a finishing product I found during the completion of
"A Jewellery Box" project. Awesome stuff! I then varnished the frame with a gloss, to preserve the paint. The final product is certainly a far cry from its original state!
Top right corner
Bottom right corner
Top left corner
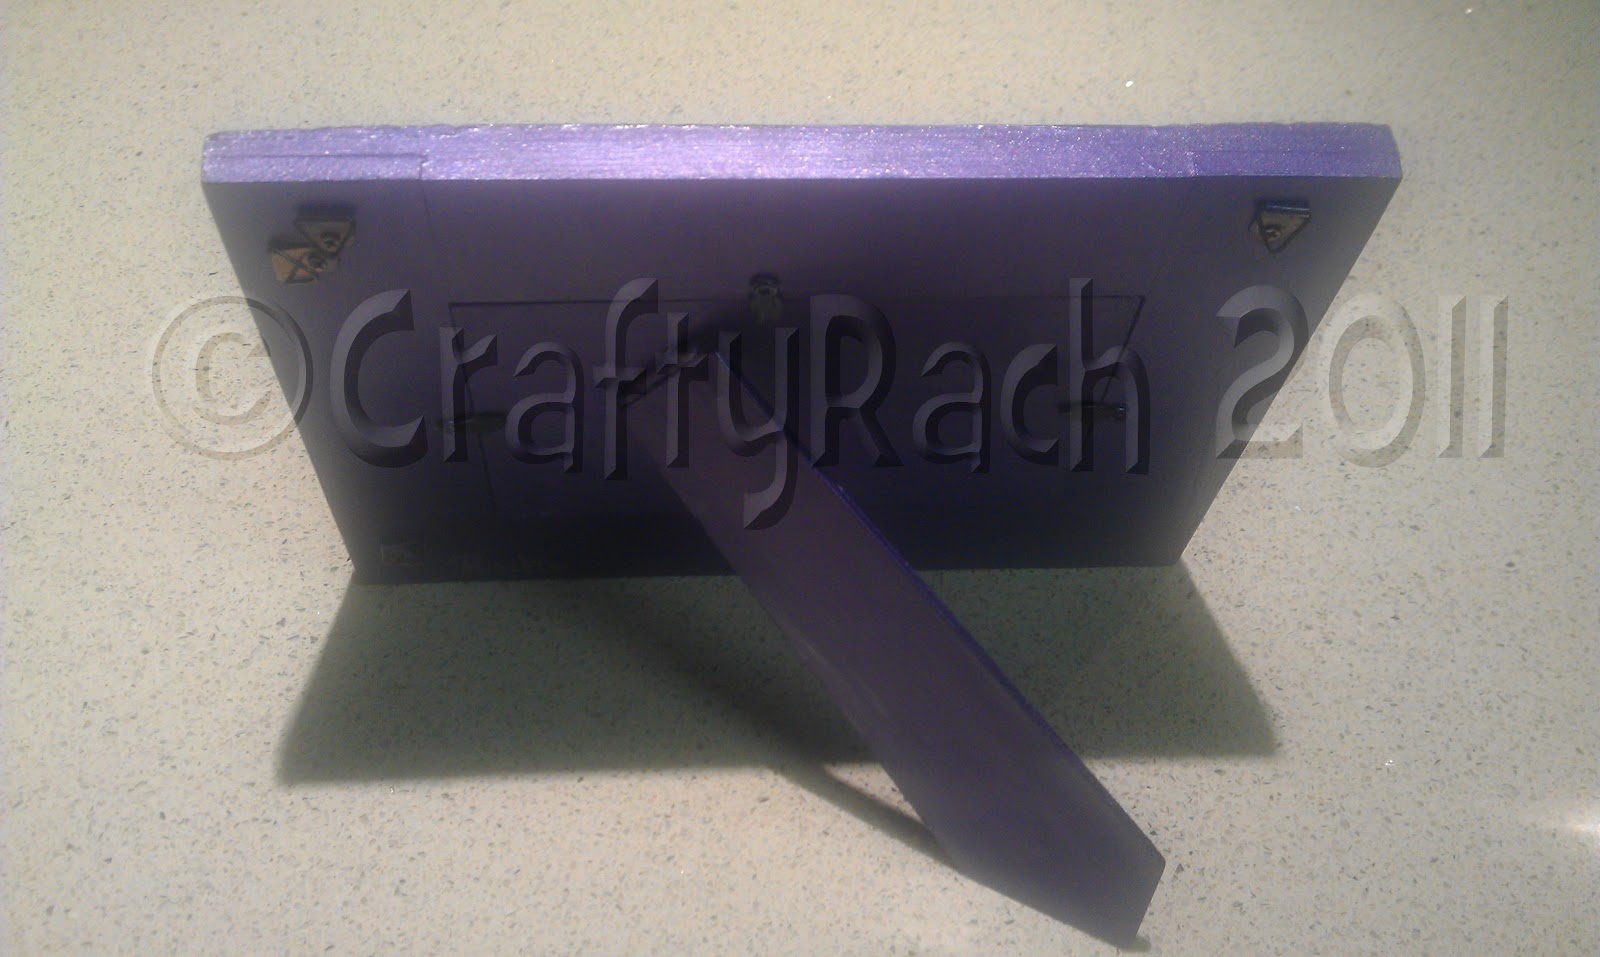
Back
The finished product
Now it's just a matter of finding the perfect photo! Thanks and with much love to C and P for the frame (you know who you are)!